Radiators that stay cold at the top can leave rooms chilly and put extra strain on your heating system. In this guide, you’ll learn why bleeding radiators is essential, the tools you need, and a simple, safe process to release trapped air and restore even heat distribution throughout your home.
Step-by-Step Radiator Bleeding Process
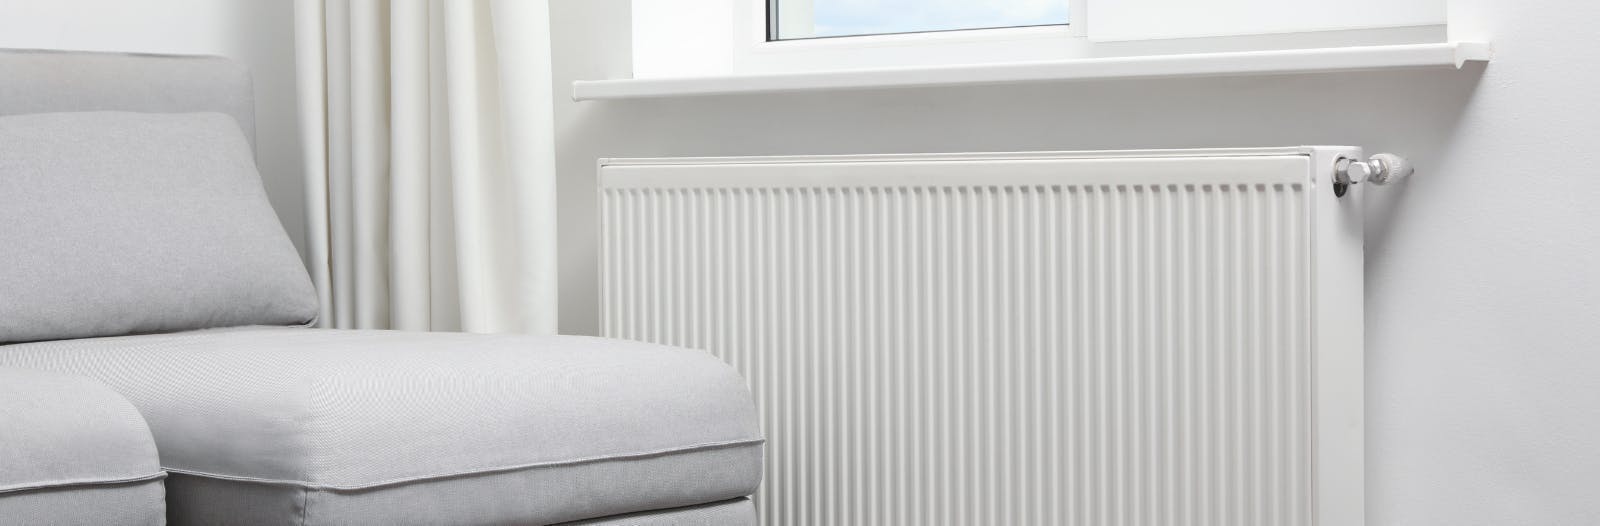
Why Radiators Need Bleeding
Over time, air collects at the highest point inside radiators, preventing hot water from filling the entire panel. This trapped air reduces heating efficiency, creates cold spots, and can cause your boiler to work harder to maintain temperature.
Gathering the Right Tools
Before you begin, make sure you have a radiator bleed key (or a flat-head screwdriver on some models), a cloth for spills and a small container or bowl to catch escaping water. Wearing gloves and having a torch nearby can help you work more safely and see clearly under low-light conditions.
Safely Releasing Trapped Air
First, switch off your heating and allow radiators to cool so you avoid scalding. Position your container beneath the bleed valve, then insert the radiator key and turn it a quarter to half-turn anticlockwise. You’ll hear a hissing sound as air escapes; once a steady stream of water appears, close the valve by turning it clockwise until it’s snug but not overly tight.
Restoring System Pressure and Final Checks
After bleeding each radiator, check your boiler’s pressure gauge. If the reading has fallen below the manufacturer’s cold-start recommendation (usually around 1.0–1.5 bar), use the filling loop to top up until you reach the correct level. Finally, turn your heating back on, feel each radiator to ensure even warmth, and inspect your bleed valves for any drips.
Speak with heating engineers in Bedford and Milton Keynes
Fixbot Ltd offers professional maintenance, radiator bleeding, and safety checks to keep your heating running efficiently. Call us on 01234 815101 or fill out our contact form to book a service today.